


In the first part of this tutorial you have seen that how to download WordPress and what is the structure for WordPress for theme development. In this tutorial we will see that what is the basic requirement for creating theme and how to configure WordPress in our local system?
Configure WordPress on local server:
Configure WordPress on local server:
- Open your browser and run this http://localhost/wordpress. If you do this you will see the following page on your browser.

Click on let’s go button. Now you will see the following screen.
 Fill the fields, I think you are aware from these fields, Let me explain.
Database name: This is database name where WordPress save your all data
User name: This is the username of your MySql Database. Default is root.
Password: This is the password of your MySql Database. Default is empty.
Database host: This is host name where WordPress running. Default is localhost.
Table Prefix: When wordpress install it creates many table so you can define here prefix of those table. Default wp_.
If you do all the process in correct way then you will get the following message.
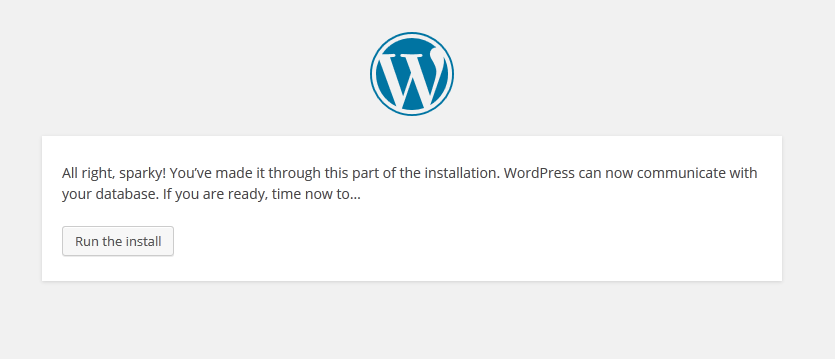
Here you click “Run and Install”.
Now time to create your blog basic things like title, admin user and admin password. When you run this process you find the following screen where you fill the require fields.

Fill this basic information and install WordPress. Now you will see the following success message.

Finally you got your final dashboard screen of WordPress.

Now you have knowledge of basic WordPress installation on your server.
0 comments:
Post a Comment